ubi mi.
Creating a new Machine Image
1
Prepare a source VM
Create a VM with a disk of up to 40 GiB, and customize it into your “golden” template: install packages, configure, etc.After you are done preparing, stop it. A machine image can only be captured from a stopped VM.To stop a VM:
- Select “Compute” from the navigation bar.
- Click on your VM’s name.
- Go to the “Settings” tab.
- Click “Stop”.
Before capturing the image, consider generalizing the source VM to remove state that should be unique to each VM. Then stop the VM to ensure its disk is in a consistent state.Generalizing the VM is optional.
2
Capture the Image
In the console, select “Machine Images” from the left menu. Click “Create Machine Image”.
Select a stopped VM. Click “Create”.The version label defaults to a UTC timestamp. You can override it by filling in the “Version Label” field in the create form.Optionally, you can select “Destroy source VM after capture” to automatically destroy
the source VM after the capture is done.
3
Wait until it is ready
After the previous stage, you will be redirected to the “Versions” tab of the machine image.
After a few minutes, the new version will reach the “ready” state.Once the version is ready, it is automatically designated as the latest version.
Boot a VM from the image
After the version you just created reaches the “ready” state, you can boot VMs from it. In the “Create Virtual Machine” form, a “Machine Image” option appears in the Boot Image selector. Choose it, then pick one of your images to boot a VM from its latest version.The web console currently supports booting only from the latest version. To boot from a specific version, use the CLI.
Manage versions
You can create new versions or delete old versions from the “Versions” tab of the machine image.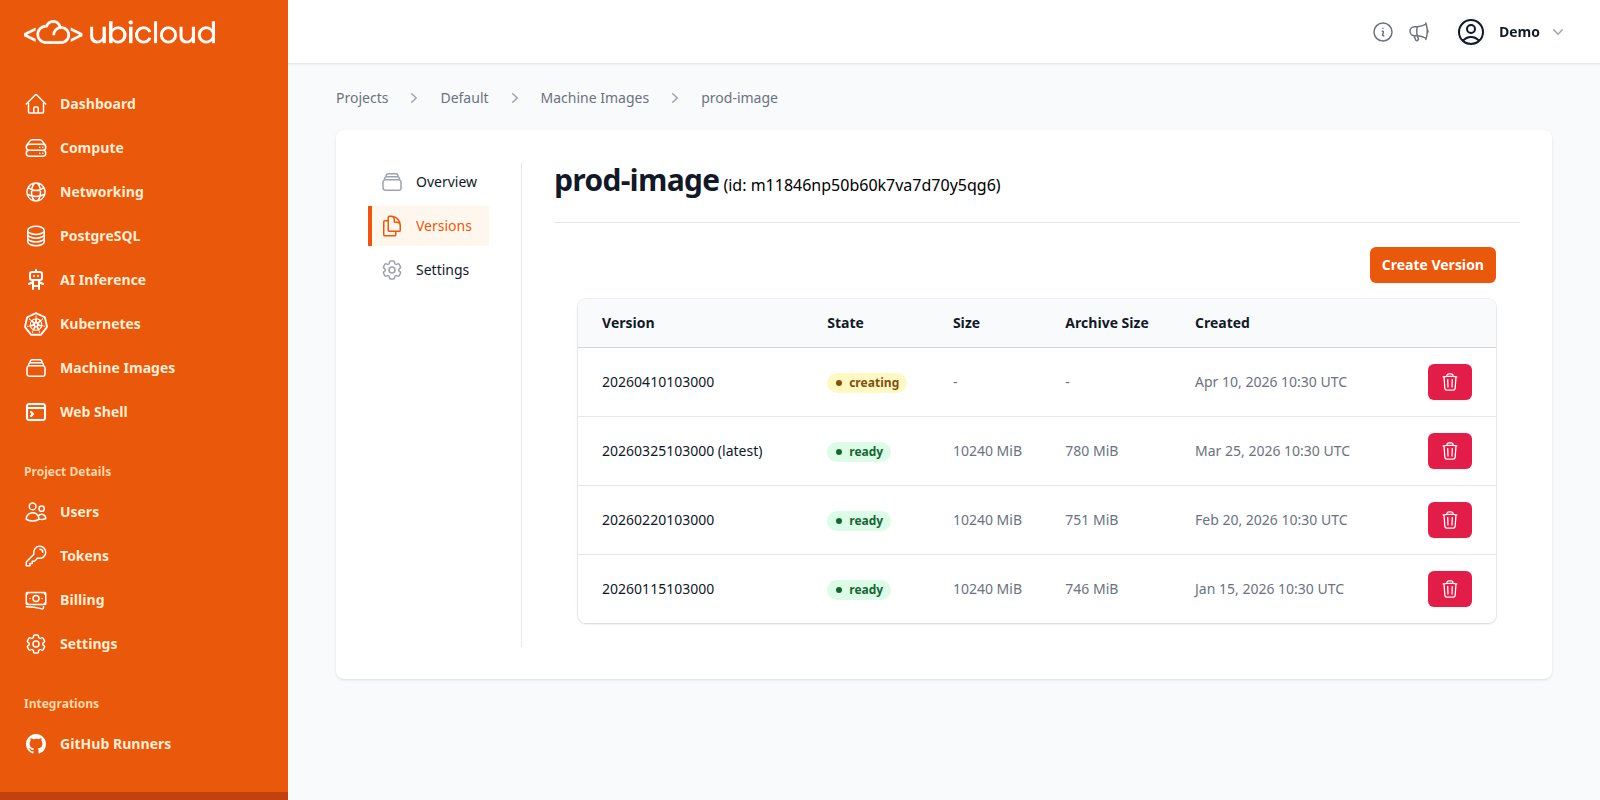
Change the latest version
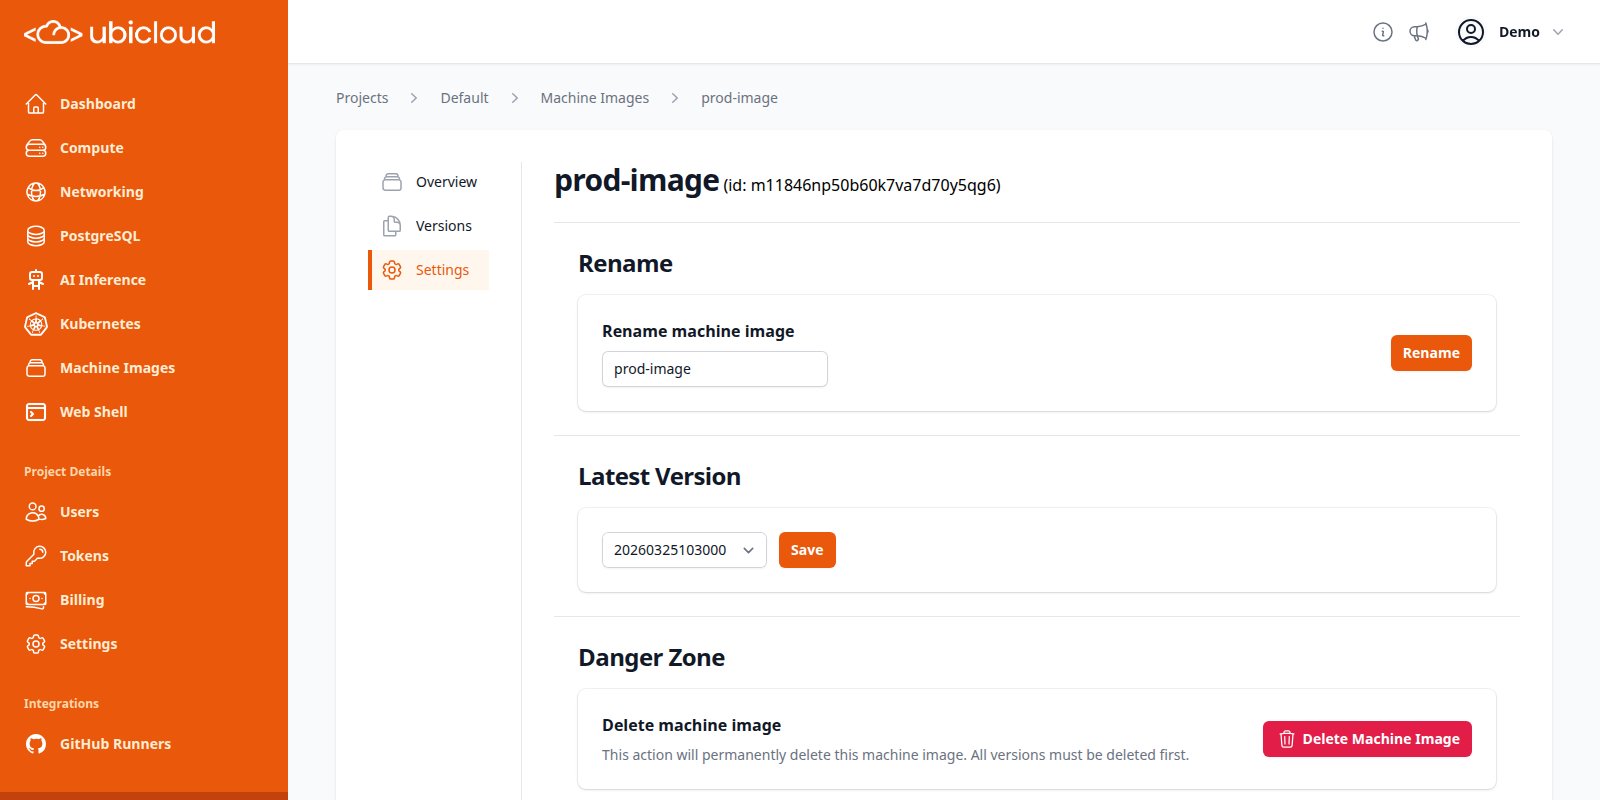
To designate a different version as the latest, open the image’s Settings page, select the desired version, and click Save. This can also be used to roll back to an older version.