Sign up and sign in
You can use Ubicloud without installing anything: https://console.ubicloud.com/create-account. The first time you use Ubicloud, you’ll need to create a new account. Once you do that and sign in, you’ll be directed to Ubicloud’s home page.Enter billing details
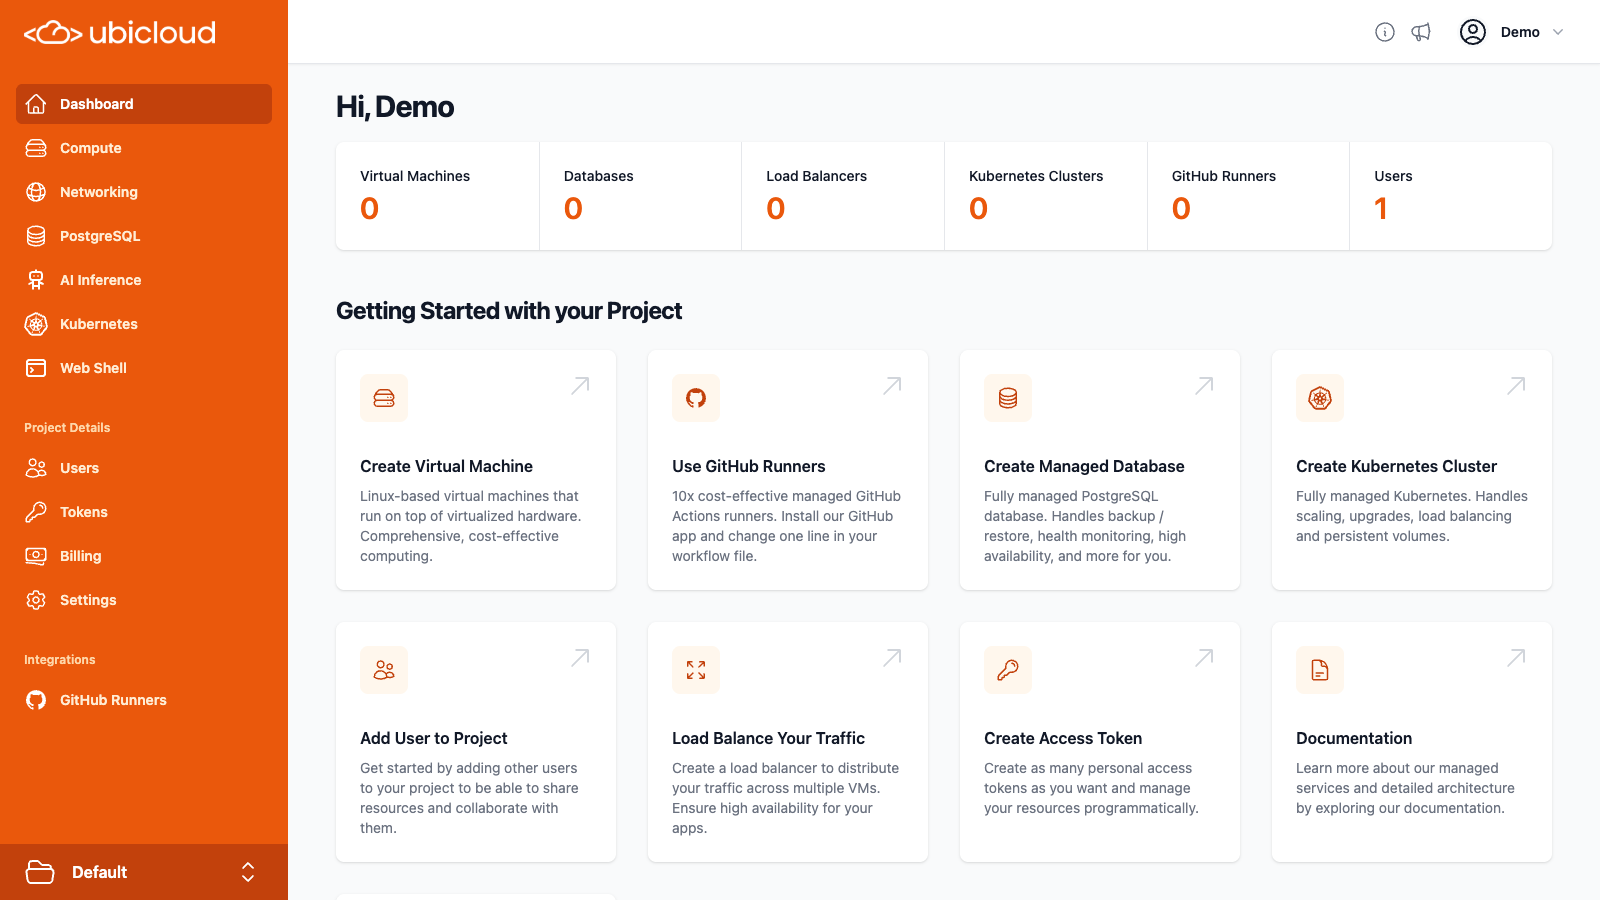
Ubicloud console’s homepage shows you available cloud services. It also lets you collaborate with others using Projects, where you can invite new users and define fine-grained permissions. By default, Ubicloud projects use Hetzner as the bare metal hosting provider. Each hosting provider has different prices, instance types, and geolocation availability.
Pre-authorization up to $5 is required to verify your card. This amount will not be charged and will be canceled after verification. Depending on your bank, it may take up to two weeks to refund the money.
Create Virtual Machine (VM)
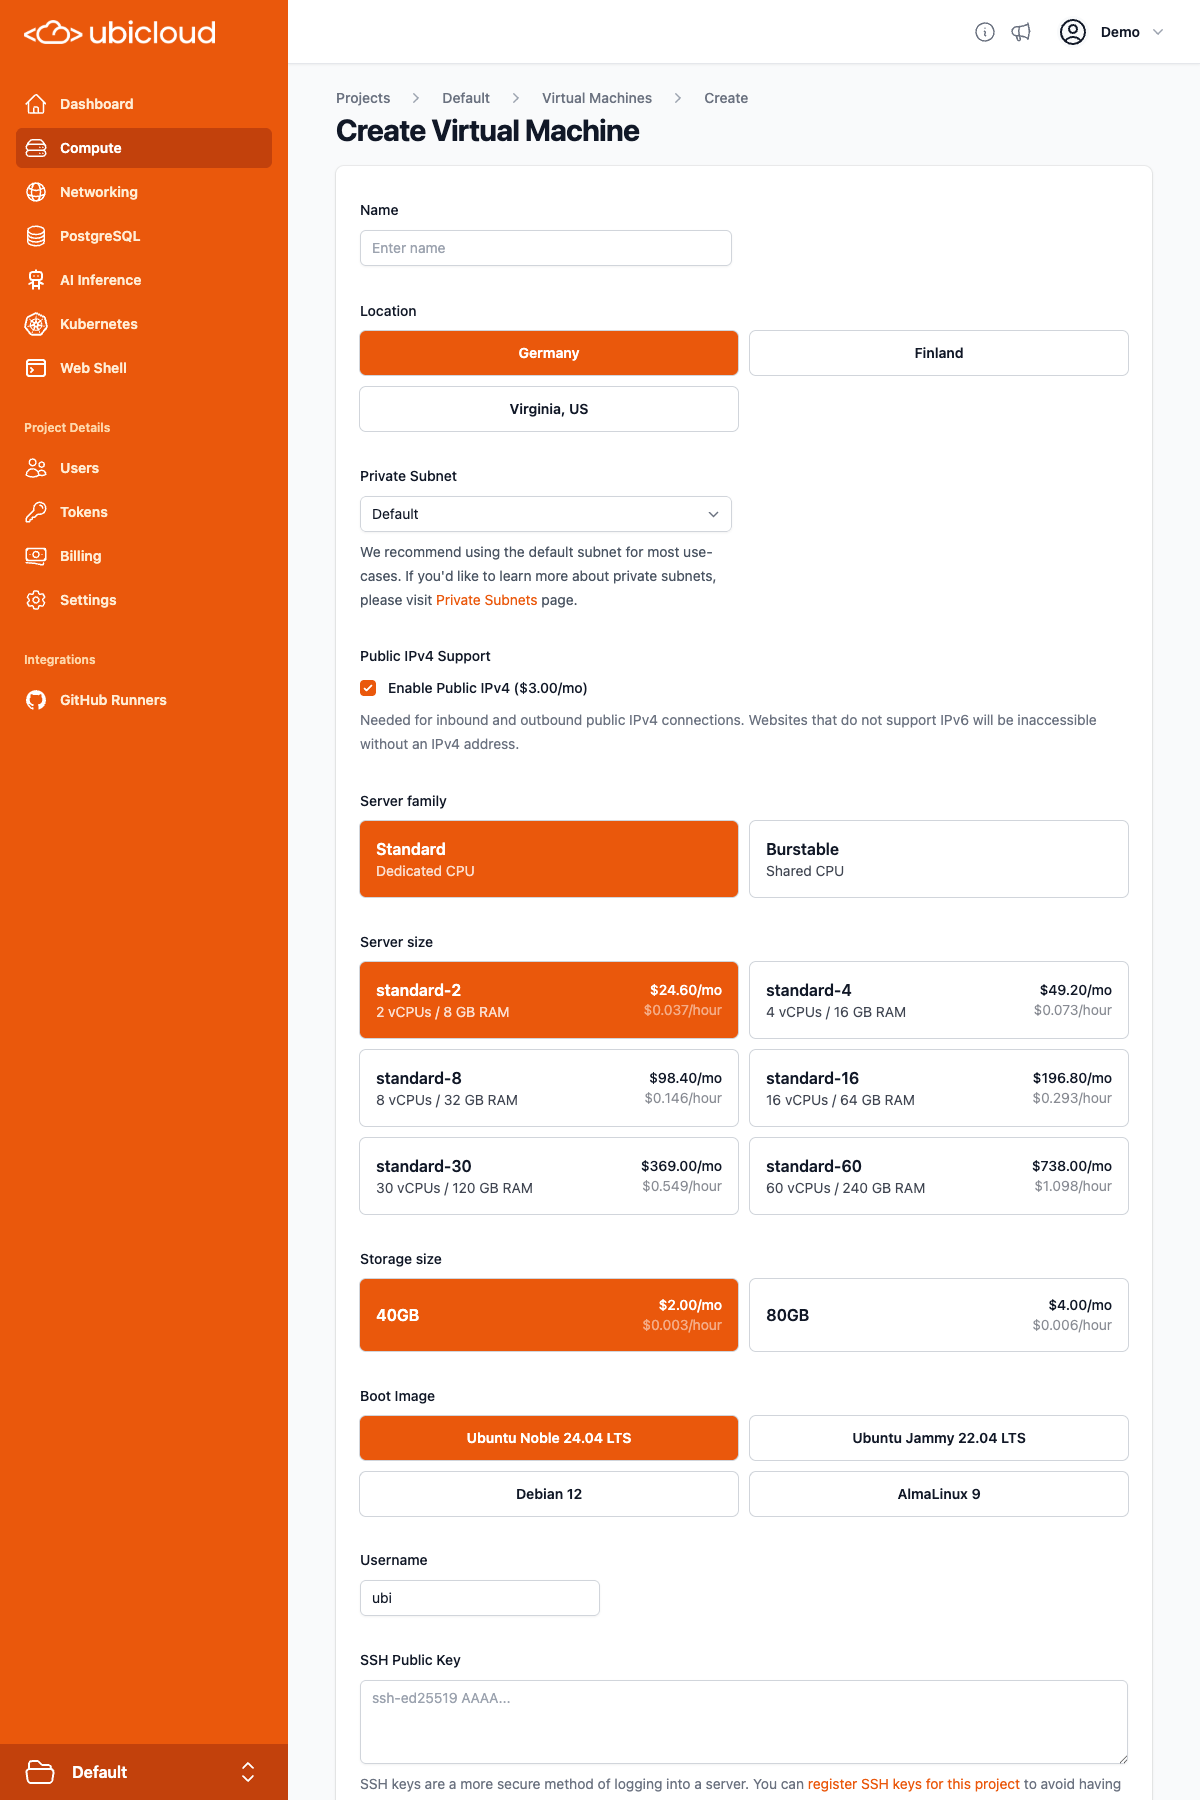
On the navigation menu, choose Compute service and then click on New Virtual Machine. This will take you to the VM creation page. Here, you can choose your region, server family and size, and Linux distribution. You also need to add your public SSH key so that you can connect to the VM after creation. We offer two server families - Standard and Burstable. Standard provides a dedicated CPU and 4GB of memory per vCPU. It is best suited for your general purpose and the most demanding workloads. Burstable provides a shared CPU with 2GB of memory per vCPU. It works best for variable workloads, low-traffic websites, development and testing workloads, and AI agents. By default, we create a private subnet for each VM. If you have an existing private subnet, you can also choose to create your VM in that subnet. Each VM gets a private IPv4 and IPv6 address in your virtual network. The VM also gets a public IPv6 address for free and by default gets a public IPv4 address for a small fee. Once you’ve completed all required fields, click Create to create your VM. In 1-2 minutes, your VM should be ready to connect.
Connect to your VM
After your VM gets created, you can connect to it using SSH. First, you must copy the public IPv4 (or IPv6) address from your console. Then in your terminal, simply type:Summary: You created a VM in this quick start guide. The VM comes with local block storage and has its own virtual private network. The data gets encrypted at rest and in transit; and you can collaborate with others using Attribute-Based Access Control (ABAC). If you used the default provider, this VM will cost you 3x lower than it would with AWS in similar cloud regions.